With all of the electrical work done it was time to move onto assembling all of the parts to actually have the turbo mounted on the car!
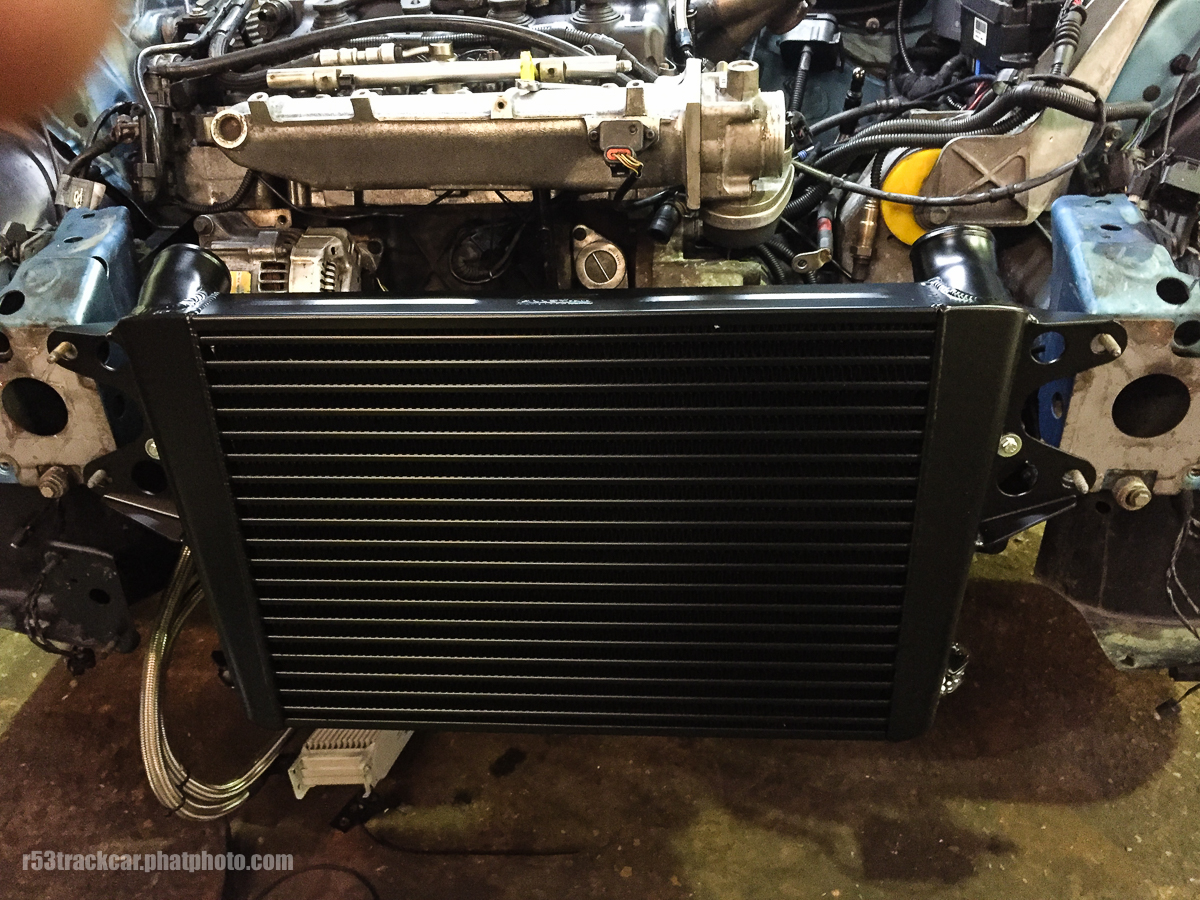
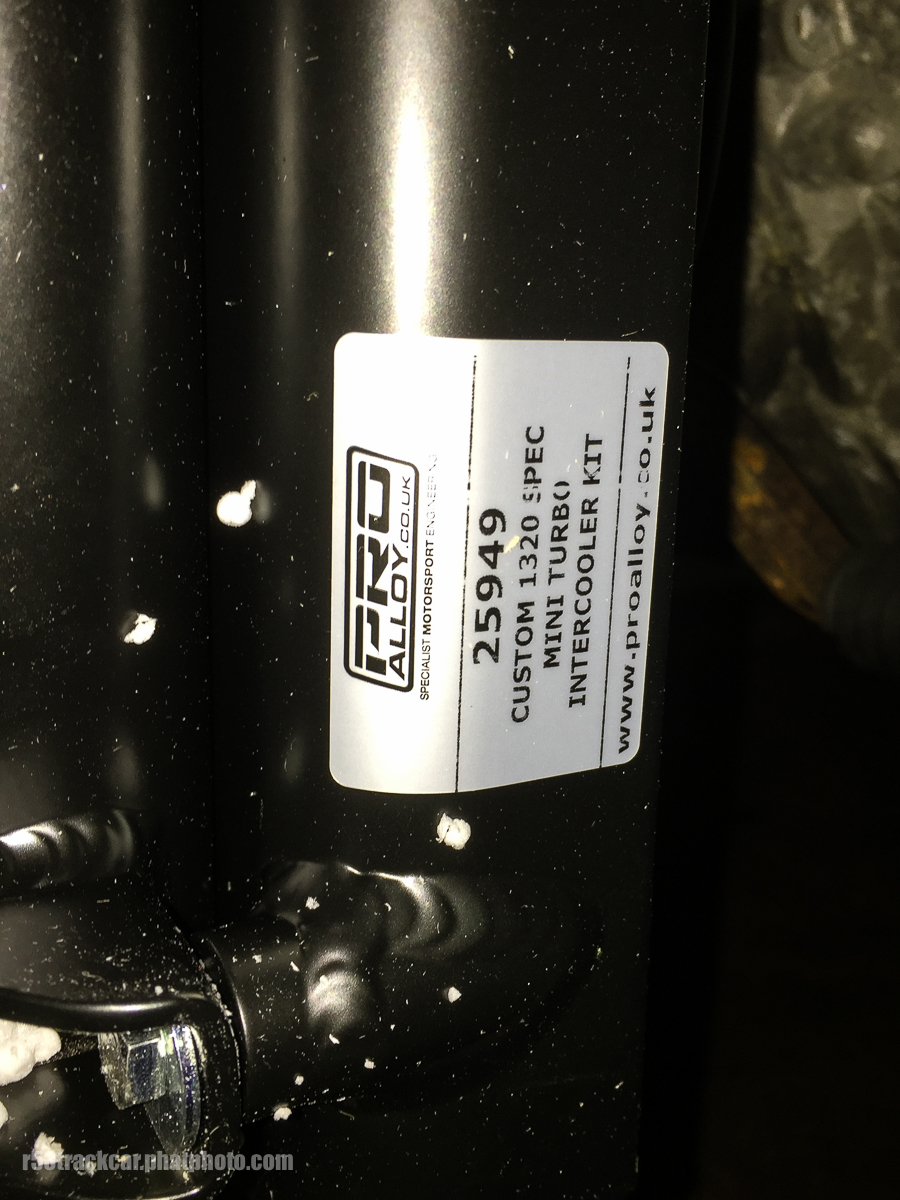
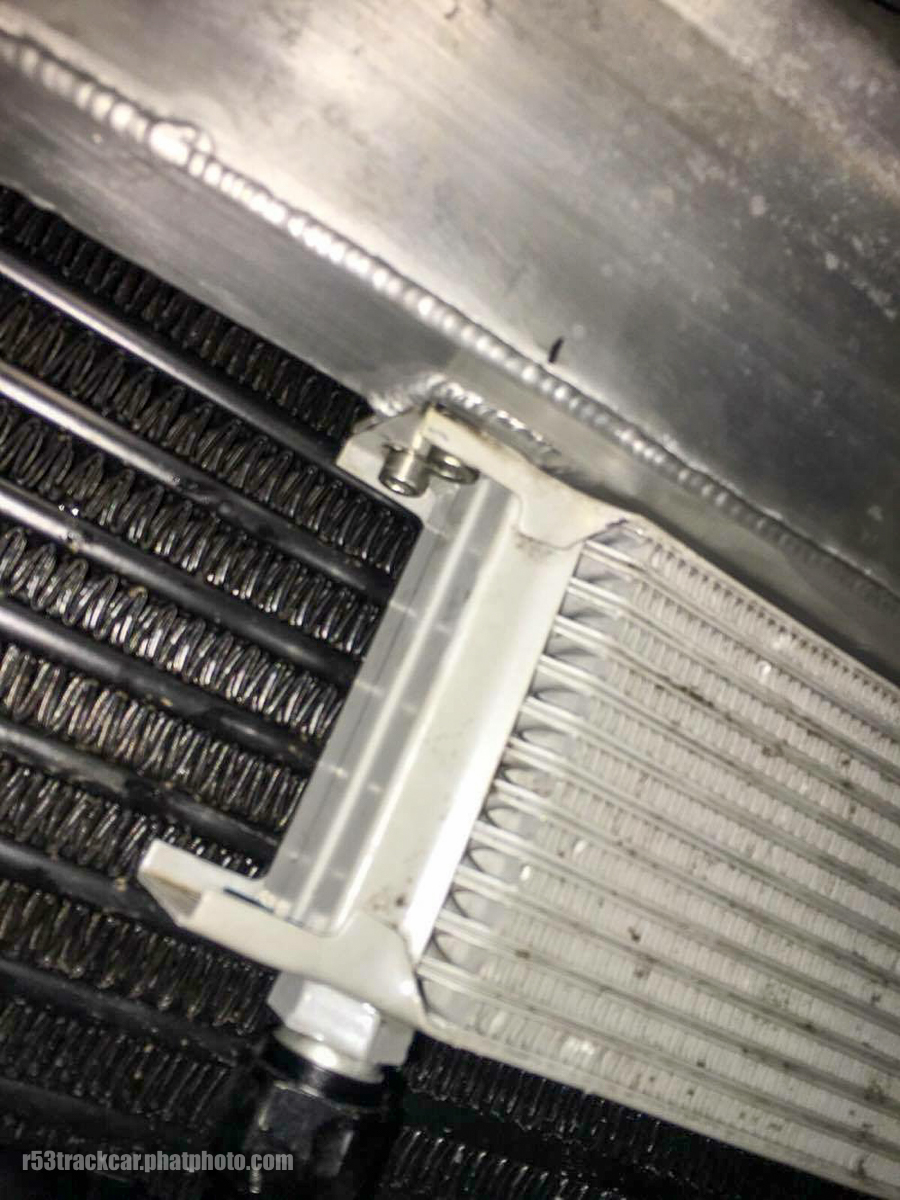
The next job was to test fit the cooling package (radiator, fan and intercooler) from proalloy.co.uk although not a cheap solution (£1500 all in) this fits on without any cutting of the bumper or the back of the crash beam. The quality of the welding is absolutely superb; it’s a really fantastic bit of engineering. With the majority of the cold air pipe work in place we can move onto completing all of the oil pipe work to the turbo, mounting the water expansion tank and routing the vacuum pipes.
Until this point in the build the majority of the work had been to strip old parts from the car and replace them with parts from the Time Attack car. There are a few things, which I’ve decided to do different from the racecar that means a few bits of fabrication work. Although I consider myself a fairly competent home mechanic I’m not able to weld so I had to enlist the skills of Thomas and Scott Barnes at 1320 MINI to do it for me.
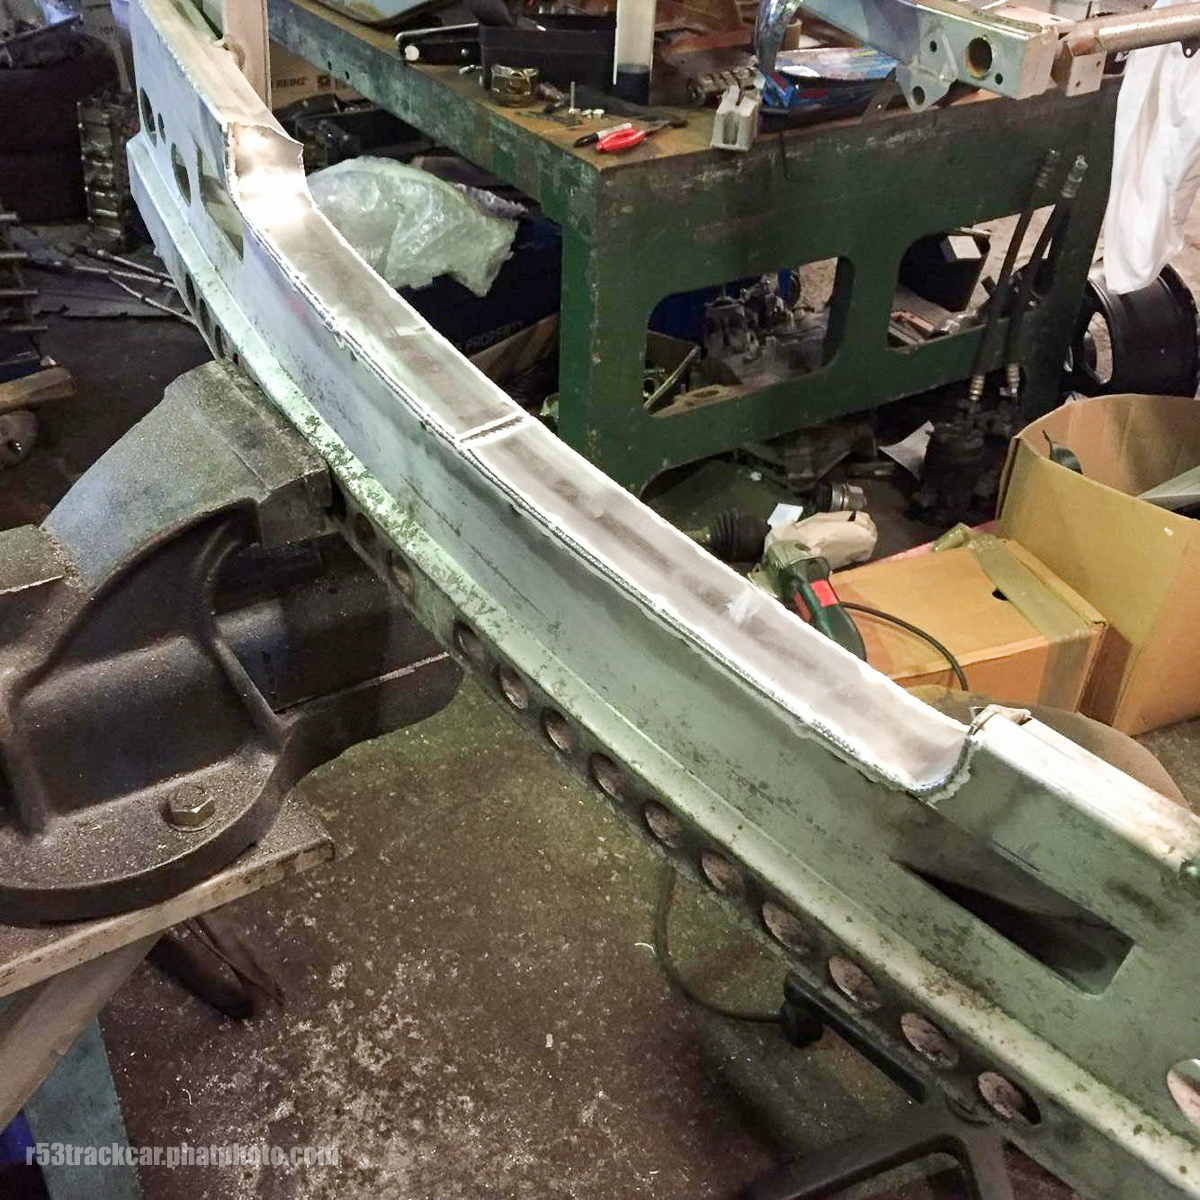
Because the Pro Alloy cooling package takes up all of the available space behind the crash structure a new mounting position for the Mocal oil cooler had to be found. Rather than just bolt the cooler to the bottom of the ally crash beam it was decided to notch the beam to ensure the oil pipes would have adequate ground clearance. This wasn’t just a simple case of cutting parts out of the beam and leaving it, the entire section was remade to ensure it didn’t lose any strength. Although, this isn’t something you can see once the bumper is on it shows the quality of workmanship 1320 MINI apply to even relatively simple jobs.
The last two small items to be made were a mount for the header tank (as well as a small modification to the header tank so that the water return from the turbo could be routed without getting too close to the exhaust) and a bracket for the boost control solenoid that bolts up to the thermostat in the same location as the pre-supercharger MAF sensor that is no longer required.
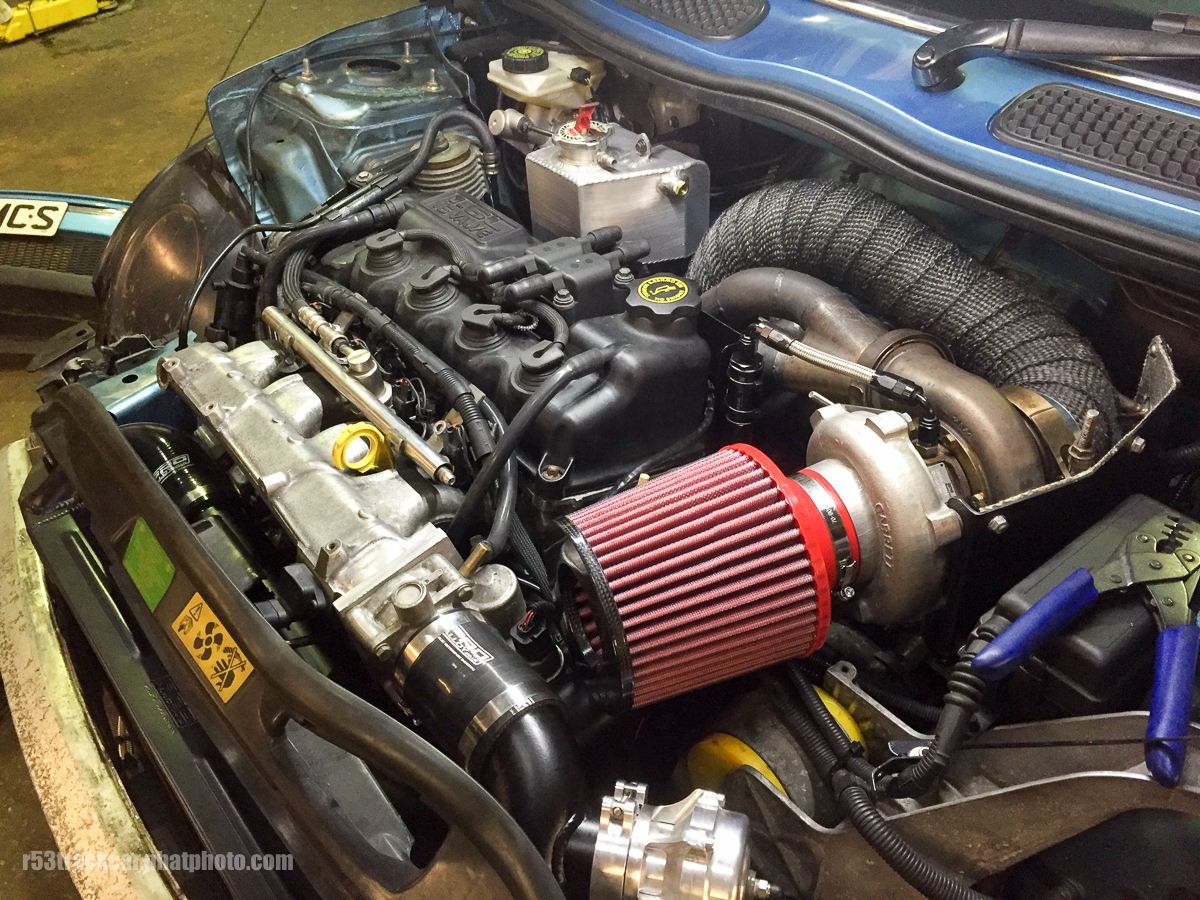
With all of the engine bay fabrication and wiring largely complete the next stage was to replace the starter motor heat shield using it to tidy some of the wiring and oil pipes. Now the heat shield was back it was time to fit the exhaust manifold and tighten the bolts down for the last time.
Before the TiAL MV-S waste gate was mounted on the manifold I cracked it open to swap the springs out. The racecar had been running with springs giving approximately 14.5psi boost with no additional boost control. My car is running a boost control solenoid so the waste gate springs could be slightly lighter. At maximum duty cycle the boost control solenoid is able to maintain about double the boost pressure provided by the springs in the gate alone, with this in mind I opted for springs rated at just over 10psi. The combination of the boost controller and the waste gate will be able to provide over 20psi of boost that should be more than sufficient on a non-forged engine.
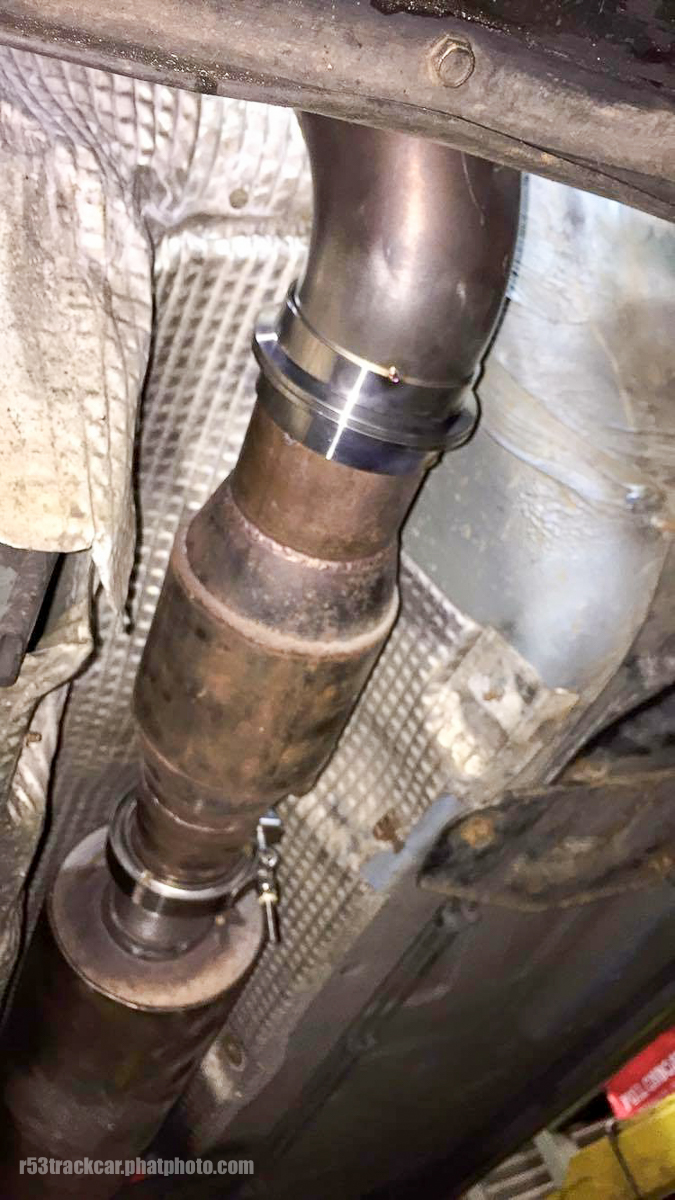
One of the problems that I’ve experienced a number of times over the years running my car on track is that the exhaust gaskets between the manifold and the catalytic converter simply don’t withstand the heat and pressure and fail on a fairly regular basis. To prevent this happening again the downpipe was modified to use v-bands before and after the catalytic converter. Yet another example of a job that didn’t have to be done, but adds to the quality and longevity of the solution.
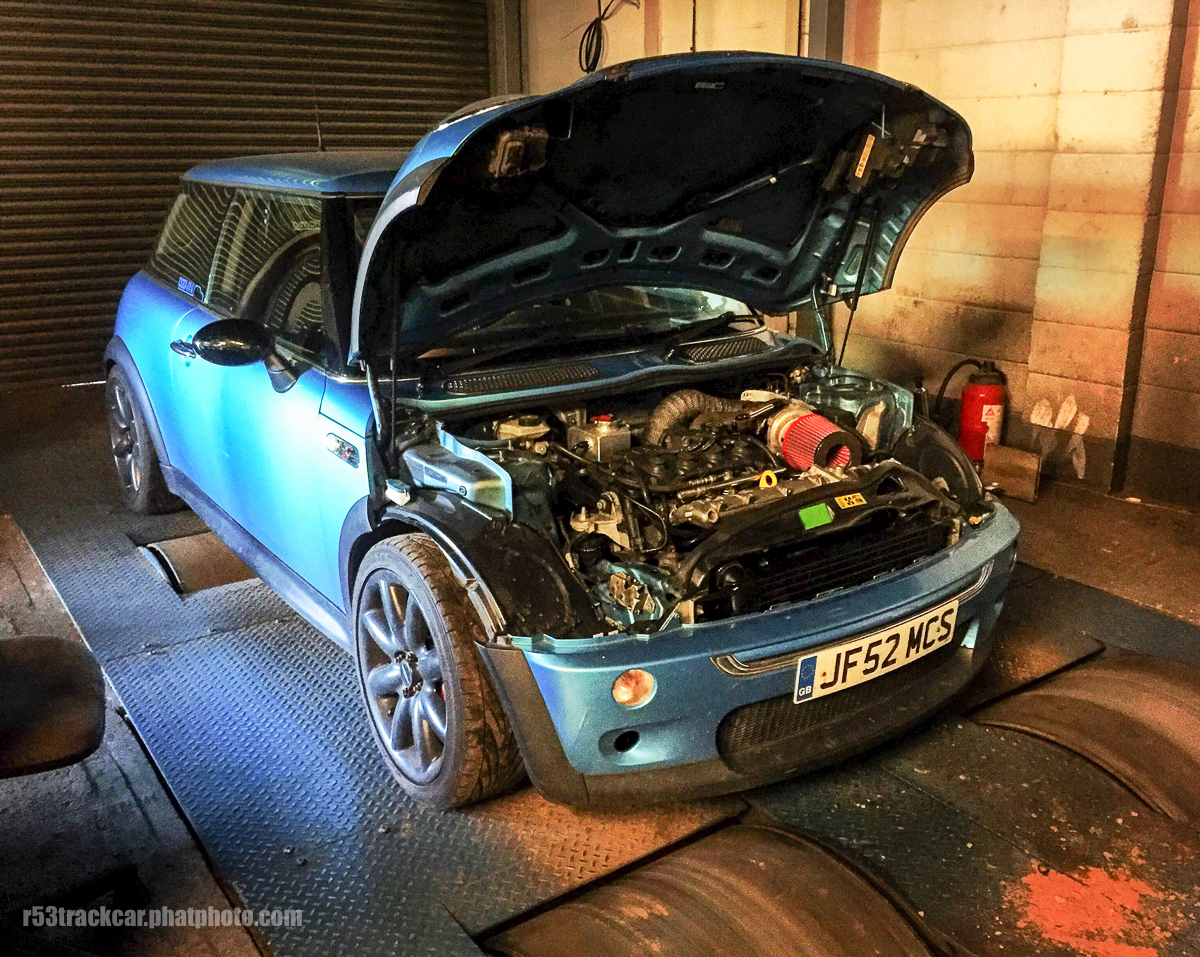
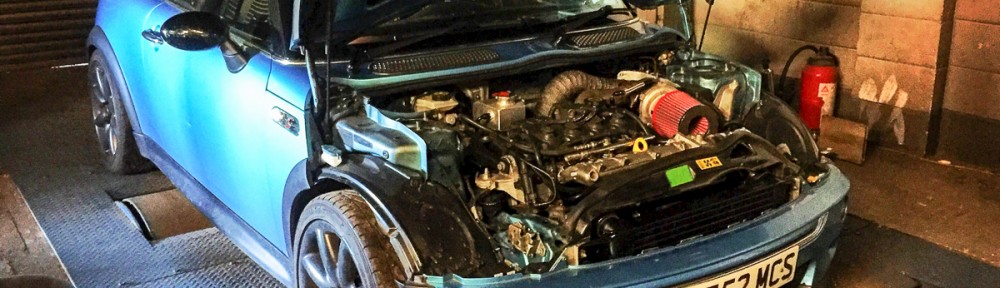
With the down pipe and manifold in place the turbo can be bolted up because all of the connections are made using v-bands this is a relatively easy thing to do. The oil feed pipe to the turbo was already in place and ready to bolt up (the feed goes through an additional fine grain filter to ensure no particles get into the turbo bearings) the drain was then bolted up to a fitting on the sump. The water feed comes from one of the pipes heading to the heater matrix with the return from the turbo feeding the header tank. The air filter goes straight onto the air inlet of the turbo, the large pro-alloy intercooler keeps the inlet temperatures way down so there is no need of long and potentially restrictive piping to move the filter away from engine bay.
Before prepping the car to start for the first time since October a few more bits of
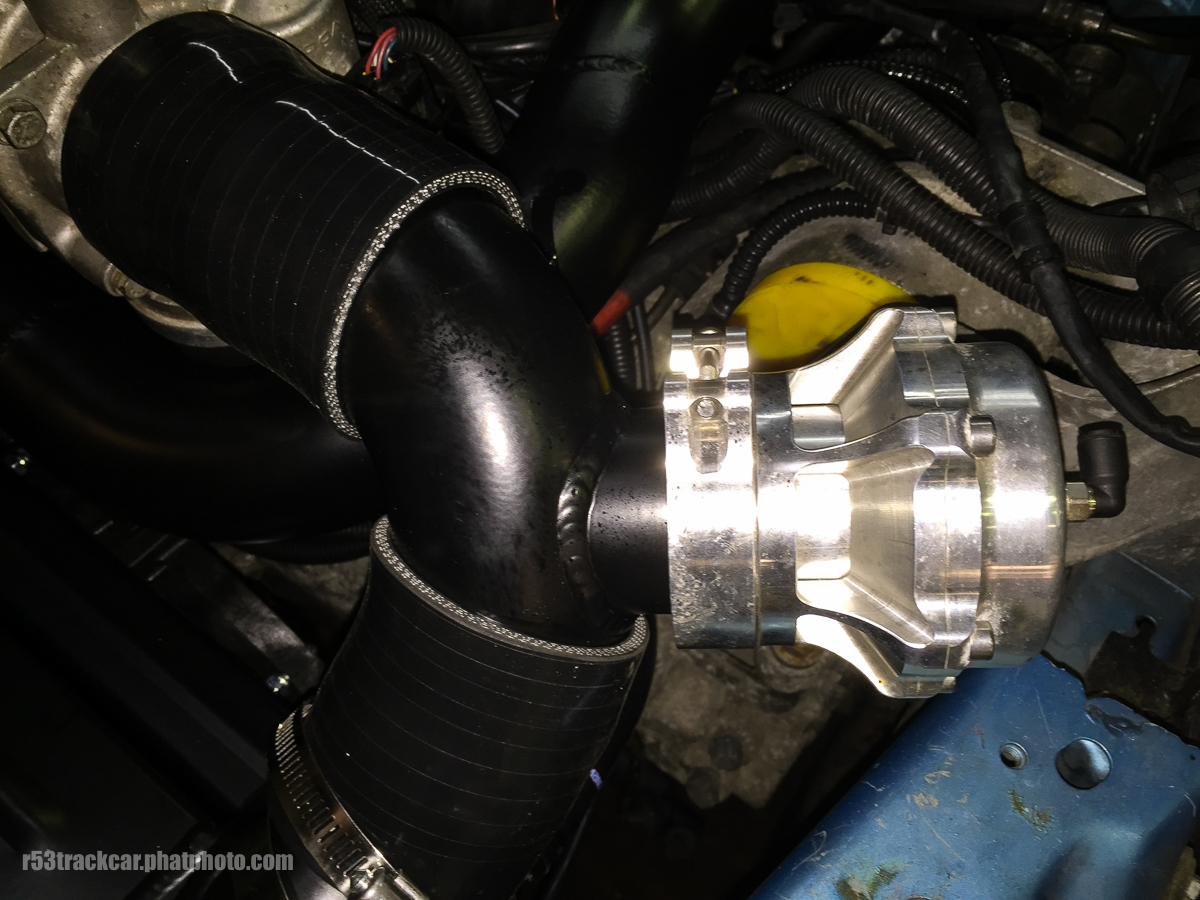
plumping need to be completed. The TiAL Q Blow Off Valve is mounted just down stream of the throttle body attaching with a v-band (of course!) it also requires a single vacuum line from the other side of the manifold. A second vacuum line runs from the same point to the boost control solenoid. With all of the water pipes in place from the radiator it was time to put some fluids into the car.
Oil is a critical component in any car, for a car that spends most of it’s life under high load on a track even more so. I’ve always used high quality oil and changed it regularly but with the addition of the turbo I decided to use the Rock Oil Carbon a fully synthetic oil specifically designed for high performance road and competition engines. All that was left to do was put some anti-freeze and water into the engine and it was ready to start.
Before allowing the engine to run it was cranked over to get oil flowing into the turbo with that complete it was fired up for the first time under turbo power. Have been sitting around for a number of months and using the new ECU for the first time I wasn’t sure if the car would actually fire up or not. I shouldn’t have worried the car fired up and ran quite happily! Although the car isn’t ready to drive yet I did get the chance to briefly get behind the wheel the most noticeable thing was the throttle response, which is in a different class from the stock ECU.
The next update should be after the car has run on the dyno for the first time!!!